Creating a mural takes time, talent, and research. From the conceptual design stage to the selection process and creation, read about how a mural is made from beginning to end.
Conceptual Design
When designing a mural, students need to keep an eye out for some important elements. Mural painting is not like easel painting, the design will be very large and reflect the community it is placed in.
Step 1: Investigate
- Look at how the place for the mural works compositionally with the environment
- Consider the community demographics, and the multiplicity of aesthetics and perspectives of the neighborhood
- Talk with community members to get a sense of what is important to them
- Investigate the social, political, and historical contexts of the community
Step 2: Design
- Keep in mind how the mural will be viewed. Will it be seen from the side or straight on? How will it look from each perspective? How will it be seen from a moving car?
- Consider the team of artists and students you will be working with, and incorporate design elements that multiple levels of artists can accommodate.
- Take into account the scale of the objects in your design. What should be seen from far away, and what can be seen up close?
Mural Selection
After the conceptual designs are made, they are presented for selection. In class, students will present a final rationale and five designs that depict the compositional strategy for critique. The idea is refined with class feedback: Does the image address political, historical, cultural, and contextual ideas and activities? Is the image accessible to all? Is the imagery legible and immediately understood? Does it restore or add to community pride? Does it connect historical roots and contemporary culture?
The designs are then presented to the mayor and city council members. Students must visually and verbally present their work in a logical, interesting sequence which the audience can follow, demonstrate full knowledge of what they have made, and be accountable for the imagery presented. Students may then adjust the design based on any feedback from the community leaders.
Finally the mural designs are presented to the community, and individual citizens are invited to vote for the design they believe best reflects their community and neighborhoods.
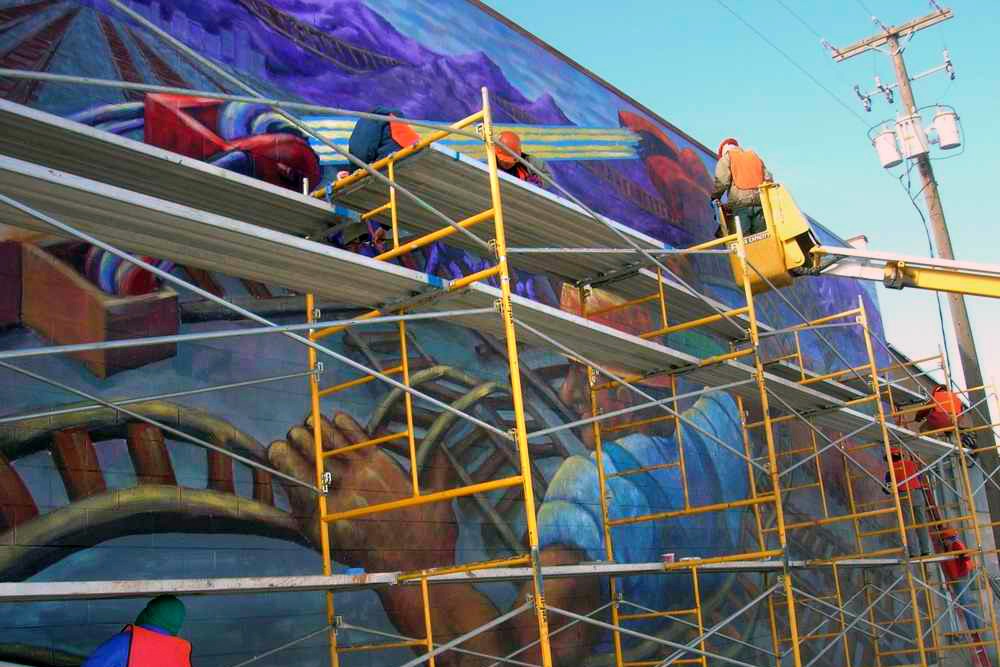
Creating the Mural
After the mural is selected we can now begin the glaze painting process. It starts by applying a gesso layer to prime the area to be painted. The area is then chalked out with a numbered grid, which is used to translate the scaled down image design to the mural site. Finally the mural is painted using the glaze painting technique, which uses multiple layers of paint to create the image. The first layer is darkest color, and each successive layer then adds the lighter colors in the design.
Step 1: Preparing the Surface
A gesso layer serves as a base for the mural, on which a numbered grid is chalked out. The grid is used to translate the mural design from the scaled-down image of the mural site.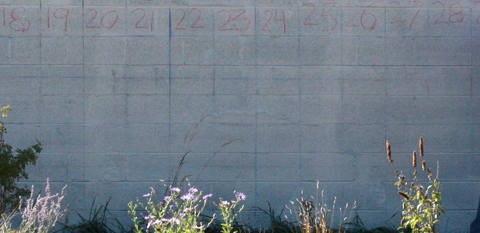
Step 2: Enlarging the Design
Using the gridding system, drawing can be done with large playground chalk, and then tightened up with a paintbrush and thinned acrylic paint.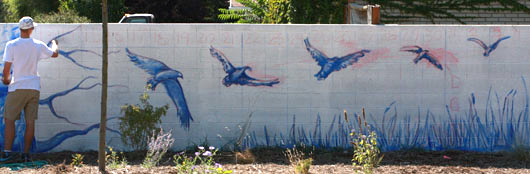
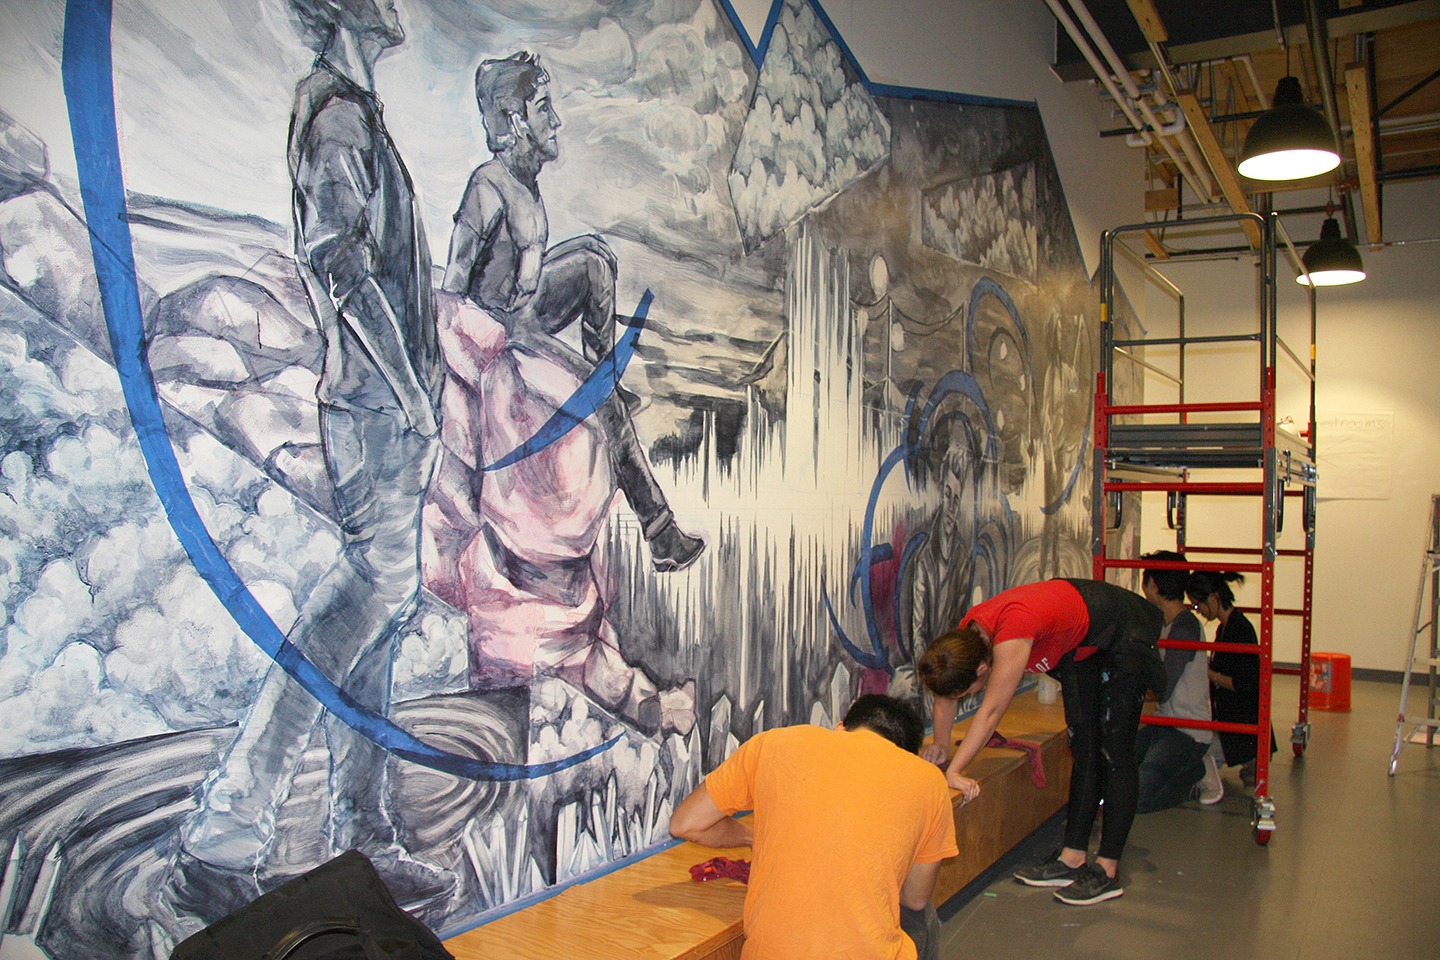
Step 3: Underpainting
An undercoat is applied first using a color that contrasts or harmonizes with the layers of paint that will be applied on top. This top layer of color may be applied in such a way that aspects of the lower layer show through, creating a mixed-colored or vibrating affect.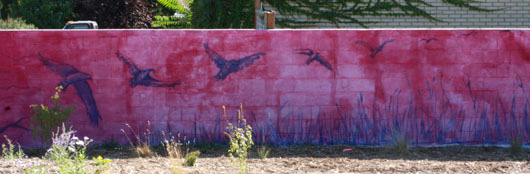
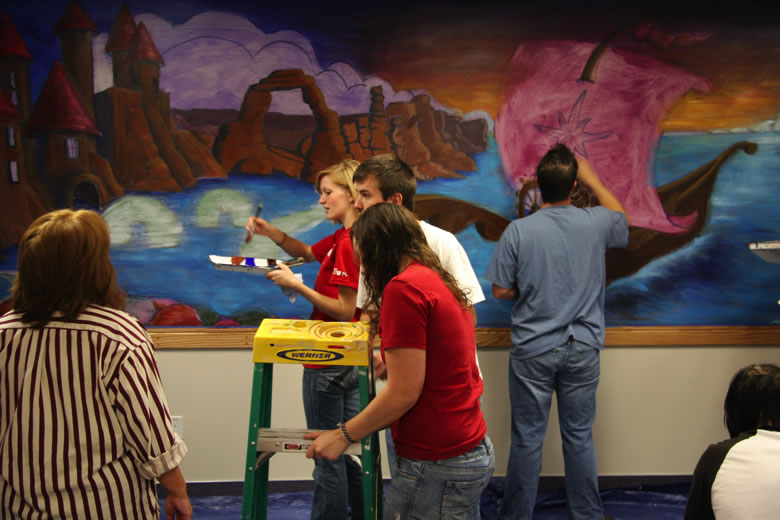
Step 4: Painting
Most collaborative murals are painted with good quality acrylic paint, sold in jars. These are suitable for indoor and outdoor use. Enamel and oil paints are not recommended for outdoor use because they are moisture impermeable and do not allow the wall to breathe.
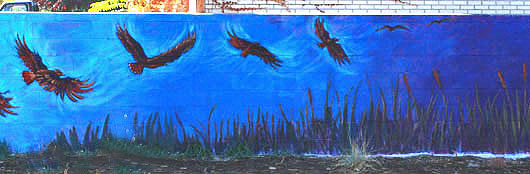
When selecting paints and colors, the artist must be careful to select colors that have good light fastness ratings by consulting paint charts for the brand of paint that is being used. Earth tones and black are most stable. Unfortunately, most blues and violets are somewhat fleeting and have a tendency to fade after five to ten years in direct outdoor sunlight.